

- Introduction
- Materials Needed
- Melting the Wax
- Pouring the Wax
- Finishing Touches
- Conclusion
- FAQs
- References
Introduction
Candle making is a delightful craftsmanship that offers creative expression along with the warm ambiance of candlelight. Whether you’re looking to illuminate your living space, create personalized gifts, or explore a new hobby, this step-by-step guide covers everything you need to know to make homemade candles. We will explore essential materials needed for candle making, the process of melting wax, pouring your creation, and adding finishing touches.
This article will not only enhance your understanding of candle making but will also provide you with practical steps to create beautiful, functional home decor. By the end of this guide, you will be equipped to indulge in this therapeutic and rewarding activity.
Materials Needed
Before you delve into the world of candle making, it's essential to gather all the necessary materials. Here's what you'll need:
1. Wax: The most common types of wax used in candle making are paraffin, beeswax, and soy wax. Paraffin is widely used due to its affordability and ease of use, while soy wax is praised for being eco-friendly. Beeswax creates a natural aroma and burns cleaner.
2. Wick: Choose a wick that corresponds to the size of your candle. Cotton wicks are popular, as they burn evenly and produce less soot. There are also wooden wicks available for a unique aesthetic and crackling sound when lit.
3. Container or Molds: Depending on the type of candle you want to create, you can use glass jars, metal tins, or silicone molds. Make sure they are heat-resistant.
4. Fragrance Oils and Dyes (Optional): For those looking to customize their candles, adding fragrance oils and dyes can create visually appealing and aromatic candles. Always choose oils specifically designed for candle making to ensure proper blending.
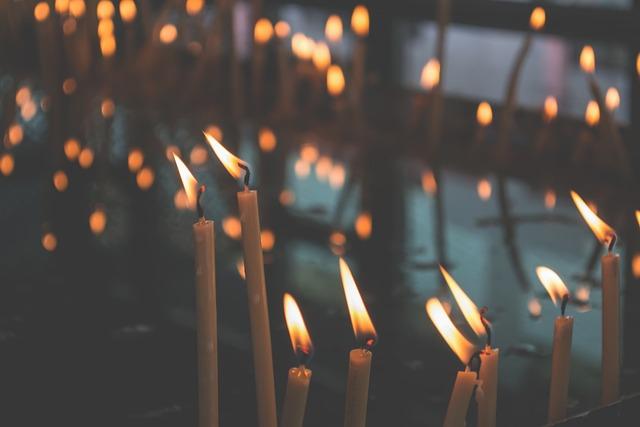
(Image: Pixabay/@Pexels)
Melting the Wax
Once you have your materials ready, it’s time to get started with melting the wax. Follow these steps carefully to ensure success:
1. Measure the Wax: The general rule of thumb for calculating how much wax you need is to fill your container or mold with water, then measure how many ounces of water it holds. That measurement translates approximately to the ounces of wax you’ll need.
2. Prepare Your Melting Pot: Use a double boiler method to melt your wax. If you don’t have a double boiler, you can place a heat-safe bowl on top of a pot of simmering water. This will allow for controlled heating without direct contact with flames, which can lead to burns or fires.
3. Monitor the Temperature: It’s crucial to melt the wax to the correct temperature, typically between 170°F to 180°F (77°C to 82°C) for most types of wax. Using a thermometer will help you maintain accuracy. Remember, overheating can affect the integrity of the wax and should be avoided.
4. Add Fragrance and Color: Once melted, this is the perfect time to add your chosen fragrance oils and dye. Stir gently to blend them throughout the wax evenly. Note that adding too much can impact the burn quality and scent throw of your finished candle.
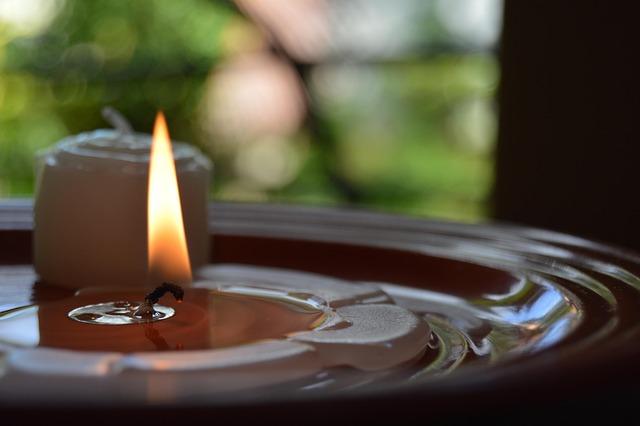
(Image: Pixabay/@718612)
Pouring the Wax
With your wax melted and fragrant, it’s time to pour it into the container or mold. Follow these essential steps for a perfect pour:
1. Prepare the Wick: Before you pour the wax, secure your wick in the center of the container. You can use a wick holder or dip the bottom of the wick in the molten wax and press it down to adhere securely to the base of the container.
2. Ensure Temperature is Right: After adding fragrance, let the wax cool slightly before pouring, ideally between 160°F to 175°F (71°C to 80°C). This helps prevent cracks and ensures a smoother finish.
3. Pour Slowly: When ready, pour the wax slowly and steadily, filling it up to just below the rim. Avoid splashing to create an even surface. Additionally, consider leaving some wax for a second pour, which can help fill any sinkholes or imperfections that may form as the candle cools.
4. Secure the Wick Again: After pouring, make sure the wick remains centered. You can pull it gently if it drifts, or use a stick laid across the top of the container to keep it in place while the wax solidifies.
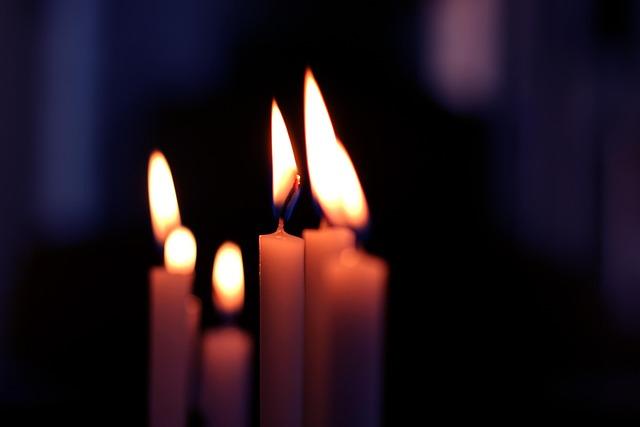
(Image: Pixabay/@gauthamkanchodu)
Finishing Touches
After your wax has cooled and solidified, it’s time to add the finishing touches to your homemade candle:
1. Trim the Wick: Use scissors to trim the wick to about ¼ inch above the wax surface. This is key for proper burning. If the wick is too long, it can cause excessive soot and an uneven burn.
2. Inspect the Surface: If you notice any sinkholes or imperfections, you can reheat some leftover wax to fill these gaps smoothly. Use a heat gun or hairdryer carefully over the surface to melt the top layer if needed.
3. Label Your Candles: If you made multiple candles or variety scents, label them accordingly. Not only does this add a personal touch, but it also helps avoid confusion when gifting or using.
4. Cure Time: Though you can light your candles immediately, letting them cure for a few days allows the scents to fully develop and improves the overall burn quality. Ideally, cure for two weeks for optimal results.
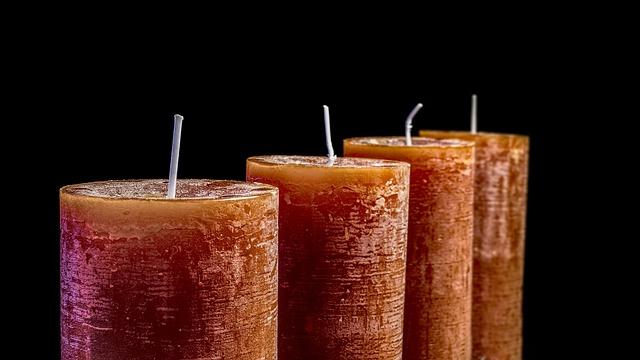
(Image: Pixabay/@Umkreisel-App)
Conclusion
Making homemade candles is not only a creative outlet but also an enjoyable way to bring warmth and personality into your space. With this comprehensive guide, we’ve covered essential materials, the melting process, pouring techniques, and important finishing touches, all designed to empower you to embark on your own candle-making journey. Embrace the process; whether you’re gifting them or keeping them for yourself, these candles will surely bring joy and a warm glow to any setting.
FAQs
How long do homemade candles last?
The lifespan of a homemade candle depends on several factors such as wax type, wick quality, and burning practices. Generally, a well-made candle can last anywhere from 20 to 50 hours.
What type of wax is best for beginners?
For beginners, soy wax is often recommended due to its ease of use, clean-burning properties, and the ability to hold fragrance well. Paraffin wax is also an option but is less eco-friendly.
How do I make my candles smell stronger?
To enhance the fragrance throw of your candles, consider adding the right amount of fragrance oil based on the wax's capacity. It’s typically advised to use between 6% to 10% fragrance load. Also, allowing the candle to cure for a week or more improves scent release.
Can I reuse old candle wax?
Yes! Old candle wax can be melted down and reused. Just make sure to remove the old wick and any impurities before reintegrating it into new candles.
What precautions should I take while making candles?
Always use protective gear when handling hot wax, maintain ventilation, and avoid distractions during the melting and pouring process to prevent accidents.